Build a REAL House Tools Tier List
Where to spend gems and mastery XP first — ranked for real houses, not vanity flex alone.
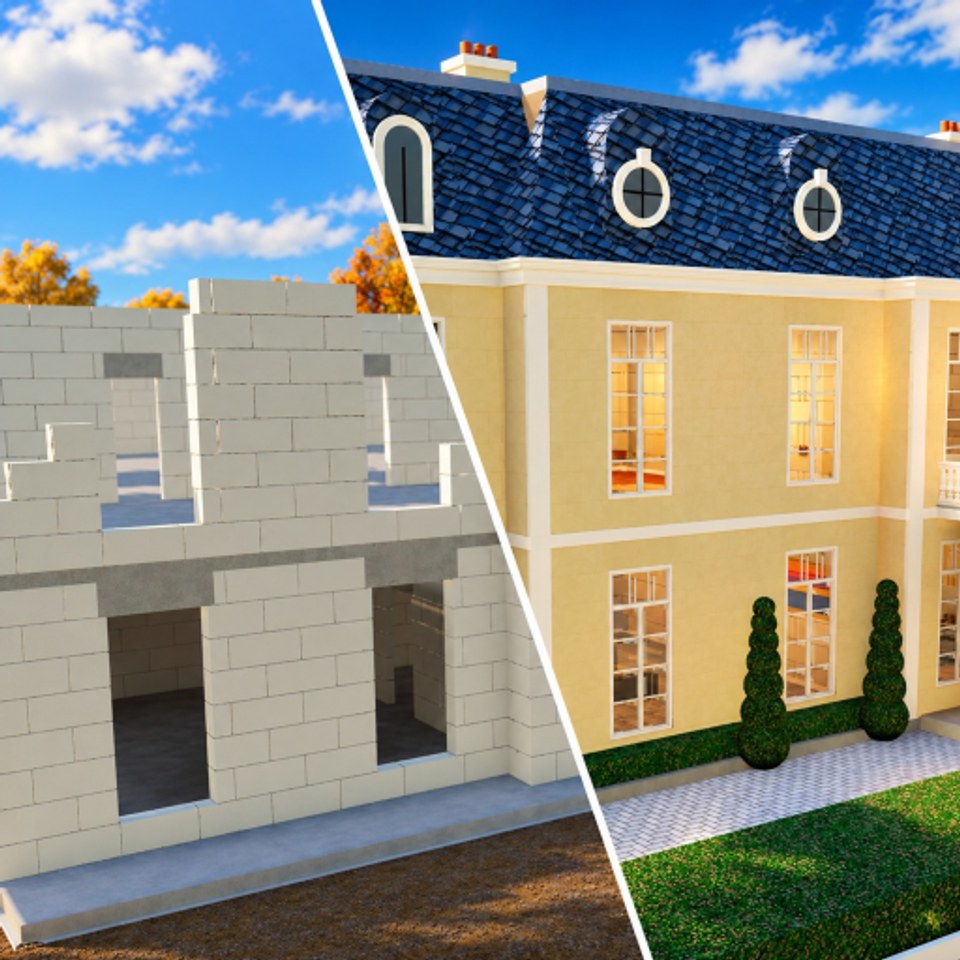
This tools tier list ranks investment priority in Build a REAL House: which tools should eat your gems, notebook upgrades (Tab), and Tool Mastery focus (Bronze → Silver → Gold → Diamond → Rainbow) before the others. Criteria: impact on every house, gem feedback loop, stage length on Mansion+, and co-op usefulness — not which inspect animation (F) looks coolest.
Deep systems help: Tool Mastery, Treasures & Gems, How to Build. Return to the Tier List Hub for house rankings.
Tier criteria
| Tier | Meaning |
|---|---|
| S | Upgrade early; pays on every run or prints economy |
| A | Strong second wave; critical once House/Pool feel easy |
| B | Important, but usually shorter or more situational |
| C | Later / flex / niche — fine at Gold while S/A hit Diamond |
S tier — upgrade first
Dig tools
Why S: Every house begins in the pit. Dig speed shortens the universal opener and increases treasure opportunities that fund more upgrades. Weak dig makes Pool→Estate feel like chores before building even starts.
Mastery target: Gold quickly; Diamond before Estate grinding; Rainbow if you main dig in co-op races.
Spend signal: Pit takes a silly share of total time, or you skip loot because digging already exhausted you.
Pour / foundation tools
Why S: Bad pours create thin slabs, delayed walls, and awkward handprint timing (E). A strong pour locks the structure phase and protects the rest of the route.
Mastery target: Gold by Villa; Diamond for Mansion+ PBs.
Spend signal: You “finish” pour then notice gaps, or co-op teammates wait on your slab every time.
A tier — second wave
Wall tools
Why A: Wall panel counts explode from Villa upward. Dig might be finished, but Mansion walls are where stamina dies. Co-op helps, yet each builder still wants competent wall holds.
Mastery target: Gold before Mansion comfort; Diamond for speed boards.
Spend signal: You dread perimeter more than dig, or corners look messy because you rush tired swings.
Primary finish tool (plaster or paint — your slower one)
Why A: Finish stages are where “almost done” houses stall. Pick whichever of plaster/paint personally slows you and treat it as A. Luxury houses (Riviera Villa, Sunset, Estate) punish weak finish kits harder.
Mastery target: Gold by Riviera; Diamond for Sunset/Estate flex nights.
Spend signal: Structure was fine but the last fifteen minutes dragged.
B tier — important but sequenced later
Roof tools
Why B: Roofs are mandatory and hole-checks matter, but many plans resolve faster than full wall loops. Still upgrade before you soft-lock finishes on missed panels — just usually after dig/pour/walls.
Mastery target: Solid Gold; Diamond if roof is your nemesis.
Tiles / final finish tools
Why B: Tiles crown the run and demand precision, but they are the shortest mental load if plaster/paint were clean. Invest once A-tier finishes feel good.
Mastery target: Gold for consistency; Diamond/Rainbow for leaderboard nervous last seconds.
Secondary finish tool (the one that is not your bottleneck)
Why B: If plaster is your A-focus, paint can sit in B until gems overflow — and vice versa. Do not mirror spends “to keep them even.”
C tier — later / flex
Rarely equipped specialty kits
Why C: Tools you only touch on one novelty stage or photo flex. Keep them usable; do not Rainbow them first.
Pure vanity mastery on unused paths
Why C: Rainbow is a flex tier. If you never hold the tool on Estate, the flex is for the inventory screen.
Duplicate overlapping upgrades
Why C: Stacking tiny upgrades across five mediocre tools loses to one Diamond dig tool. Focus fire.
Example spend orders
New player (post first House)
- Dig
- Pour
- Walls
- Worse finish tool
- Roof / tiles
Mid-game (Villa/Mansion)
- Walls if dig already Gold+
- Finish bottleneck
- Dig/pour catch-up
- Roof
Late-game (Sunset/Estate + co-op)
- Finish Diamond for luxury surfaces
- Dig Diamond for openers + gems
- Walls Diamond for structure races
- Rainbow on your personal main
Co-op nuance
Teams can specialize: one Rainbow digger, one Diamond finisher. That is smart if roles rotate enough for mastery fairness (Co-op). If you always solo, ignore specialist excuses and balance S/A around your own splits (Speed Building).
Anti-meta mistakes
- Even gem spreads.
- Rainbow before House is easy.
- Ignoring dig because “building is walls.”
- Upgrading mid-hold every thirty seconds.
- Copying a friend’s Rainbow paint when your dig is Bronze.
How to use this list in-session
- Finish a house.
- Name the slowest stage.
- Find that tool’s tier here.
- If it is S/A, spend. If it is B/C, only spend with surplus.
- Re-check after Sunset/Estate patches via Updates.
Letter grades serve your notebook — not the other way around. Upgrade what blocks the skyline you are actually building tonight.
Frequently Asked Questions
Quick answers to the most common questions.
What is the best tool to upgrade first?
Usually dig, then pour. They affect every house and dig also feeds the gem loop through treasures.
Is Rainbow worth it?
Yes on tools you use every run. No on specialty kits you rarely equip — Diamond is enough there.
Should walls outrank finish tools?
Often yes through Mansion. On Riviera, Sunset, and Estate, bump your slower finish tool into equal A priority.
Do co-op mains change the tier list?
Specialists can Rainbow their role tool, but solo players should still cover dig plus one finish bottleneck.