Build a REAL House How to Build a House
Dig → concrete → walls → roof → plaster → paint → tiles. The same loop scales from House to Estate.
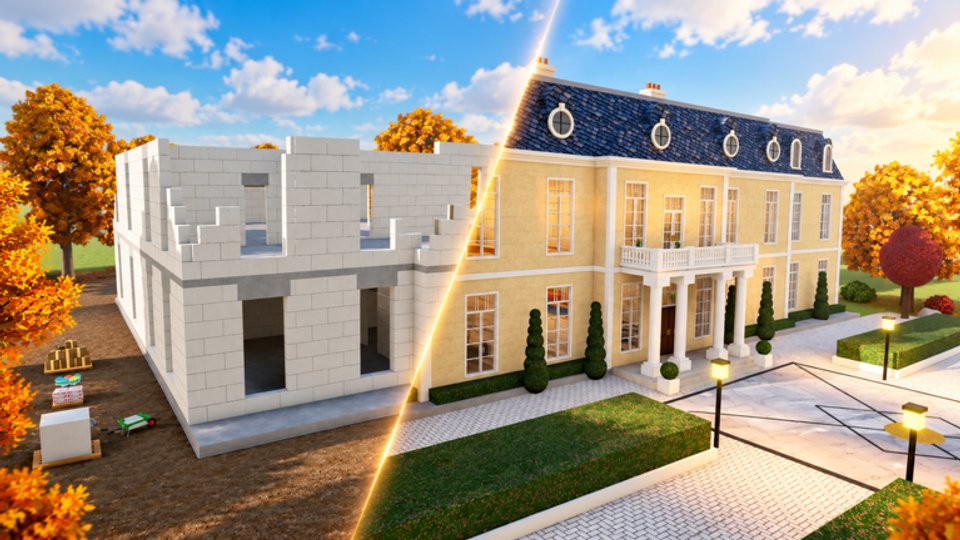
Every project in Build a REAL House follows the same construction loop. Learn it on the starter House, then stretch it across Pool, Villa, Mansion, Riviera Villa, Sunset, and Estate. This guide is the stage-by-stage deep dive — what “done” looks like at each step, common mistakes, and how later houses change the workload without changing the order.
New players should skim Getting Started and Controls first. For a printable mental checklist while you play, keep Build Checklist open alongside this page.
The loop at a glance
- Dig the pit
- Pour concrete
- Stack walls
- Set the roof
- Plaster
- Paint
- Tiles / finish
Skip or half-finish a stage and the next one fights you. Speedrunners compress this loop; they do not delete steps. See Speed Building once your clean runs feel automatic.
Stage 1 — Dig the pit
Goal: a complete, even footprint ready for concrete.
Digging is not filler — it is foundation quality control and your best early treasure window. Work in lanes across the marked area. Hold the dig tool through each scoop (Controls). Fill missed corners before you declare victory; a “mostly dug” pit creates weird concrete edges and wasted pour time.
While you dig:
- Watch for treasures and pocket gems (details in Treasures & Gems).
- Keep the camera high enough to spot untouched patches.
- In co-op, assign opposite corners so diggers do not collide — see Co-op.
Done looks like: no obvious dirt islands inside the footprint; edges follow the build outline.
Stage 2 — Pour concrete
Goal: a solid slab that fills the pit and reads as complete.
Pour with patience. Stay aligned, hold through the pour, and watch for thin spots. When the slab is wet, press E for your handprint — a signature feature of the game — then confirm the stage completion state before grabbing wall tools.
Common mistakes:
- Rushing walls while the pour is incomplete.
- Walking off the slab mid-hold and leaving gaps.
- Forgetting the handprint and remembering after it dries.
Done looks like: continuous concrete across the pit, interactive wet moment handled, stage ready for walls.
Stage 3 — Stack walls
Goal: structural walls that match the house plan, including openings.
Walls teach alignment. Aim, then hold. Corners decide whether roofs sit cleanly later. On larger houses (Mansion, Riviera Villa, Sunset, Estate) wall count jumps; the skill does not change — only stamina and upgrade pressure do. If walls feel slow, that is a classic notebook upgrade signal (Tool Mastery).
Tips:
- Complete a full perimeter before interior partitions when the plan calls for them.
- Do not leave single missing segments “for later”; later is how roofs fail.
- Co-op pairs well here: one player on long runs, one on corners.
Done looks like: closed wall lines with intentional door/window gaps only.
Stage 4 — Roof
Goal: close the structure so finish stages can begin.
Roofing is the mental checkpoint between structure and cosmetics. Missing panels block plaster/paint flow on many runs. Work from one eaves line across; check overhead often. Bigger houses mean more roof real estate — budget time and consider roof-oriented tool upgrades before Sunset/Estate pushes.
Done looks like: continuous cover over the walls with no obvious holes from your inspect camera angle.
Stage 5 — Plaster
Goal: even surface prep across walls (and related faces the stage requires).
Plaster is the unsexy stage players skip mentally — and then wonder why paint looks wrong. Hold through panels. Hit edges and corners. Think “prime the house,” not “dab until bored.”
If you are racing, plaster is where discipline beats panic. A clean plaster pass is faster than paint touch-ups. Role-split in co-op: one plaster specialist while another preps paint tools.
Done looks like: consistent coverage with no raw patches before paint unlocks meaningfully.
Stage 6 — Paint
Goal: full color coverage on prepared surfaces.
Paint rewards the plaster you just finished. Work face by face. Keep the tool held through strokes. On luxury houses (Sunset, Estate especially), expect more surface area and furniture-adjacent detailing later — the paint stage still comes before final tiles/shine.
Done looks like: no primer showing where paint belongs; transitions at edges look intentional.
Stage 7 — Tiles and finish
Goal: final shiny completion so the house counts as built.
Tiles are the victory lap and a precision check. Misaligned last-stage work is heartbreaking after a long dig. Slow down for edges. Confirm the house completion prompt or progress flag before you run off to the notebook.
Done looks like: finished floors/surfaces per house design, project marked complete, rewards/mastery XP banked.
First House vs later houses
| Focus | Starter House | Mid (Pool / Villa / Mansion) | Late (Riviera / Sunset / Estate) |
|---|---|---|---|
| Goal | Learn the loop | Sustain stamina & upgrades | Optimize routes & co-op |
| Dig | Small, teach treasures | Longer pit time | Serious gem farming window |
| Structure | Forgiving | More wall/roof panels | Easy to desync in co-op |
| Finish | Short plaster/paint/tiles | Noticeable length | Luxury furniture context |
Read the per-house notes in Houses Walkthrough and compare fun/time/difficulty on the Houses Tier List. Sunset and Estate notes also appear under Sunset & Estate update.
Tool upgrades mid-build
You can open Tab mid-project, but the clean habit is: finish the current stage, upgrade the tool you are about to spam, then continue. Upgrading dig after the pit is finished teaches nothing. Upgrading plaster before a Mansion finish pass pays immediately. Ranked spend order: Tools Tier List.
Solo quality checklist
- Pit even → concrete full → walls closed → roof sealed → plaster even → paint solid → tiles complete.
- Handprint taken while wet.
- Treasures looted during dig without abandoning lane discipline.
- Notebook note written: slowest stage this run.
When you are stuck
- Confirm stage order — are you painting before plaster?
- Confirm tool — wrong tool + hold still fails.
- Camera check for missed panels.
- Re-read the stage section above; then skim Controls.
- If the house is huge, bring a friend and assign roles (Co-op).
- Skim Common Mistakes for the failure mode that matches your symptom.
After the shell is truly finished, dress it with Furniture & Decorating — especially on Sunset and Estate luxury plots.
Build quality first, then speed. The loop never changes — your mastery and teamwork do.
Frequently Asked Questions
Quick answers to the most common questions.
What is the correct build order?
Dig the pit, pour concrete, stack walls, set the roof, plaster, paint, then tiles. Keep that order on every house.
When should I leave a handprint?
During the concrete stage while the slab is wet — press E — then finish the pour properly.
Do larger houses change the stages?
No. Pool through Estate use the same loop with more area, longer stages, and higher upgrade pressure.
Where can I track stages while playing?
Use this guide with the Build Checklist tool page, and open the in-game notebook with Tab between stages.